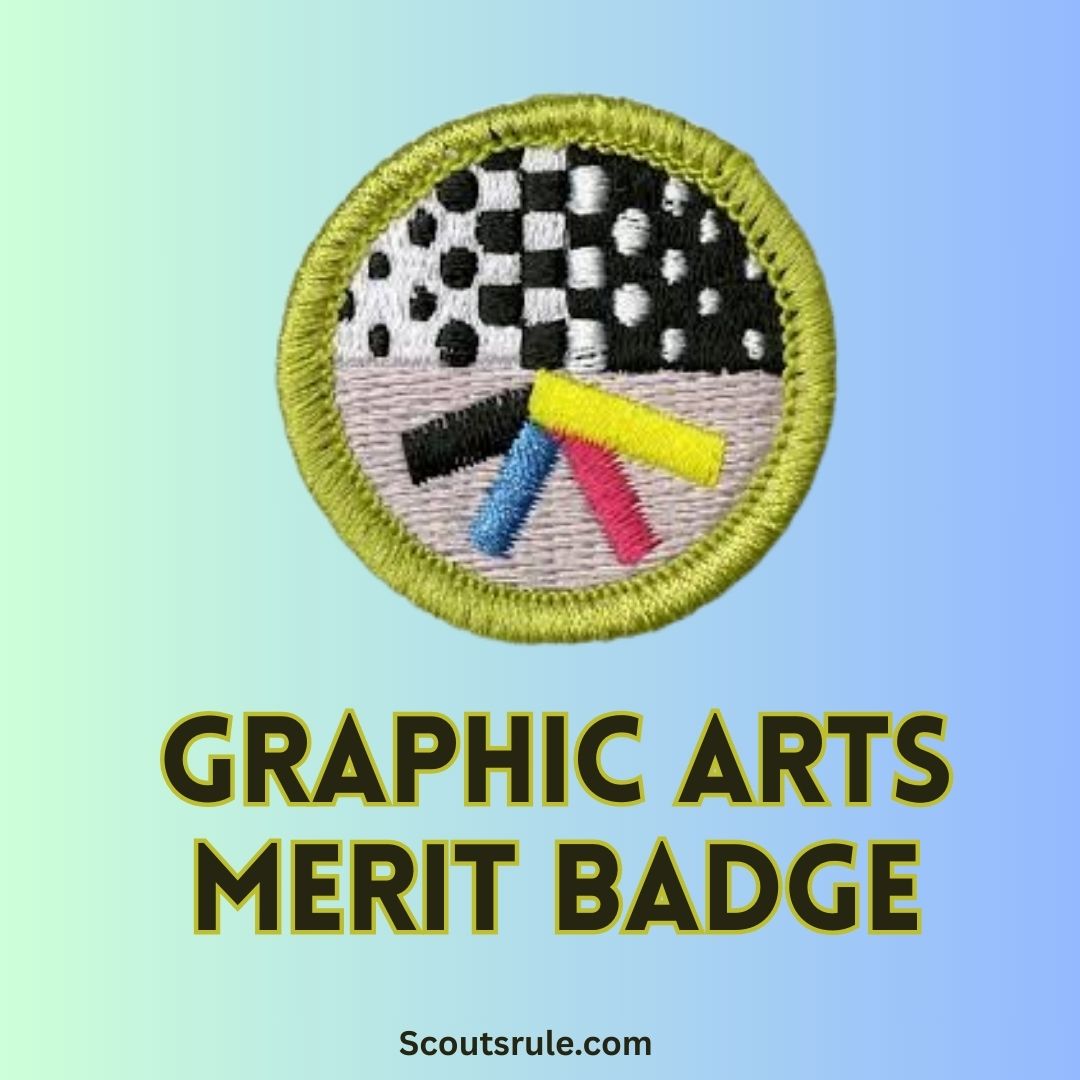
Graphic arts is a dynamic field that blends visual creativity with technical precision. It is concerned with the production of printed materials, digital images, and many of the visual elements that influence how we interact with media on a daily basis. Whether it’s the design of a newspaper, the layout of a magazine, the creation of advertising materials, or the user interface on an app, graphic arts play an essential role in communication.
Post Contents
- 1. Discovering the World of Graphic Arts
- 2. Overview of the Graphic Arts Merit Badge
- 3. Printing Processes and Production Techniques
- 4. Understanding Artwork: Continuous-Tone, Line, and Halftone
- 5. Designing a Printed Piece: From Concept to Creation
- 6. Producing Your Design Using a Printing Process
- 7. Careers and Future Opportunities in Graphic Arts
- 8. Practical Tips, Resources, and Final Thoughts
- Conclusion
1. Discovering the World of Graphic Arts
Earning the Graphic Arts Merit Badge gives you the opportunity to explore various printing processes, study different artworks, design a unique printed piece, and understand the practical and theoretical aspects of visual design. This badge not only helps you develop artistic skills but also builds a foundation for a wide range of careers in design, advertising, publishing, digital media, and beyond.
2. Overview of the Graphic Arts Merit Badge
The Graphic Arts Merit Badge is designed to take you on a journey through many facets of graphic design and printed communications. Your tasks include:
- Reviewing Printing Processes: You will explore several methods for producing printed communications, such as offset lithography, screen printing, electronic/digital printing, relief printing, and gravure. Reviewing these processes will give you insight into how images and type are transferred onto various materials.
- Understanding Artwork Techniques: You will learn the differences between continuous-tone, line, and halftone artwork while also exploring how digital images are created and stored.
- Design and Production: The badge requires you to design a printed piece—be it a flyer, T-shirt, program, or another item—and then produce it using an appropriate printing method. You must articulate your design choices, including the selection of typefaces and the arrangement of elements.
- Exploring Careers: Finally, you will research potential careers in graphic arts, understanding the education, tools, and opportunities available in this vibrant field.
Throughout these steps, you’ll gain an appreciation for both the artistic and technical challenges of graphic production, while also learning to apply critical visual and design principles.
3. Printing Processes and Production Techniques
A major element of the badge involves understanding different printing processes. This forms the technical side of graphic arts and is essential for producing professional-quality work.
3.1 Reviewing Major Printing Processes
Your counselor will ask you to review the processes for producing printed communications. Key processes include:
- Offset Lithography: In this method, an image is transferred from a plate to a rubber blanket and then onto the printing surface. Offset lithography is prized for its ability to produce consistent, high-quality images with excellent detail and color reproduction. It is used in newspapers, magazines, and high-volume print materials.
- Screen Printing: This technique uses a stencil on a fine mesh screen. Ink is forced through open areas of the screen onto the print surface. Screen printing is versatile and can be used on textiles (like T-shirts), posters, and various kinds of promotional items. It allows for bold color application and is ideal for designs that require precise, thick ink layers.
- Electronic/Digital Printing: Digital printing refers to processes that use digital files to output printed materials directly. It includes techniques such as inkjet or laser printing and is ideal for short-run jobs or projects requiring variable data printing. It allows for rapid design changes and is widely used in modern graphic communications.
- Relief Printing: In relief printing, areas of a block or plate are raised so that when inked, only these portions transfer the image onto the substrate. Woodcut and linocut are classic examples of relief printing. This traditional process offers a handcrafted aesthetic and is often used in fine art prints.
- Gravure Printing: Gravure, or rotogravure, involves engraving the image onto a cylinder. This technique is known for producing high-quality, continuous-tone images and is used in high-volume printing operations, such as magazines and packaging.
3.2 Collecting and Analyzing Samples
You should prepare by collecting samples of printed products produced using at least three different processes. Alternatively, you may create diagrams that outline each process step-by-step. As you analyze the samples, note:
- The quality of the image or text: crispness, color accuracy, and sharpness.
- The type of substrates (paper, fabric, etc.) used.
- The advantages and limitations of each process for different applications.
By comparing these samples, you will gain an appreciation for why a particular process might be chosen for specific types of printed media.
4. Understanding Artwork: Continuous-Tone, Line, and Halftone
To further develop your design perspective, the badge requires you to explain three different types of artwork and discuss how digital images can be created and stored.
4.1 Definitions and Differences
- Continuous-Tone Artwork: This type of artwork features a smooth gradient of colors or shades seen in photographs and realistic paintings. It presents images with subtle gradations and is not made up solely of discrete dots or lines.
- Line Artwork: In contrast, line artwork is composed entirely of distinct lines or outlines. Common in illustrations, technical drawings, and cartoons, line artwork emphasizes simplicity and clarity, using contours and strokes to convey form.
- Halftone Artwork: Halftone is a method that simulates continuous tones through the use of dots of varying sizes, spacing, and density. This technique is especially important in printing to recreate photographs and gradients within the limitations of ink on paper.
Understanding these differences is critical because each type of artwork requires a different approach for reproduction. Think about how the resolution of a digital image is influenced by whether it’s composed of continuous tones or halftone dots, and consider the challenges digital artists face when converting line drawings to digital formats.
4.2 The Role of Digital Images
Digital images are created using software that manipulates pixels—the tiny colored squares that make up an image. You should:
- Explain how digital images are captured (using a scanner or digital camera), stored (in file formats such as JPEG, PNG, or TIFF), and manipulated using graphic design programs.
- Discuss the importance of resolution, color modes (RGB vs. CMYK), and file formats for different kinds of printing, especially when moving from screen to print.
This understanding bridges traditional print methods with modern digital graphics, spotlighting how technology has revolutionized graphic arts.
5. Designing a Printed Piece: From Concept to Creation
One of the practical requirements of the badge is to design a printed piece. This project allows your creativity to shine while also reinforcing your knowledge of design fundamentals.
5.1 Concept and Layout Decisions
Decide on a printed piece that interests you: it could be a flyer, T‑shirt design, program, or even a custom form. Begin with brainstorming ideas:
- Purpose of the Design: Consider what story or message you want to communicate. Who is the audience?
- Layout and Composition: Sketch a rough layout, determining how elements will be arranged. Consider the hierarchy of information—what should catch the eye first? Use principles of balance, contrast, and alignment.
5.2 Choosing Typefaces and Arranging Elements
Typography is a cornerstone of graphic design. In your design:
- Select Typefaces: Explain your decisions for one or more typefaces. What mood or tone do they set? For example, a sans-serif font might convey modernity and clarity, while a serif font may offer a more traditional feel.
- Element Arrangement: Describe why you have arranged your text and images in a particular manner. This may include the use of grids, white space, or focal points that direct the viewer’s eye through the design.
- Color Considerations: While not always a specific requirement, consider how color interplay can enhance or detract from your design. Think about contrast, harmony, and the emotional impact of your chosen color palette.
5.3 Choosing the Best Printing Process
Next, articulate which printing process best suits your design and why:
- Explain the Suitability: Would the clean detail of digital printing better capture your design’s nuances, or would the bold impact of screen printing be a better choice?
- Desktop Publishing Considerations: If you use desktop publishing software, identify the hardware (computers, printers) and software (Adobe InDesign, Illustrator, or other design tools) that are best suited for producing your design. Explain how these tools help bring your layout from the screen to printed material.
6. Producing Your Design Using a Printing Process
Once your design is complete, you are expected to produce it using one of the specified printing processes. This step involves:
- Choosing a Method: Depending on your resources and your project, choose between offset lithography, screen printing, or digital printing. If you have the option, work with your counselor or a local print shop to learn the basics of the selected process.
- Production Steps:
- For offset lithography, you would create a plate (using a process approved by your counselor).
- For screen printing, you could create a hand-cut or photographic stencil, attach it to a prepared screen, and then run it to print your design.
- If choosing digital printing, you might use your desktop publishing software to produce a digital file and then print sample copies.
- Quality and Quantity: Typically, you must produce a minimum number of copies (often at least 50) to demonstrate the process. Document the entire production phase in your journal, indicating challenges, adjustments, and the final outcomes.
Explaining the production process helps solidify your understanding of how visual design is translated into a physical medium.
7. Careers and Future Opportunities in Graphic Arts
The final requirement of the badge invites you to explore careers that relate to graphic arts. This is an opportunity to bridge your new skills with potential future paths.
- Research Possible Careers: You might look into roles such as graphic designer, art director, advertising creative, digital media specialist, or print publisher.
- Interview or Shadow: If possible, arrange an interview or a shadowing experience with a professional in one of these fields. Discuss their career journey, needed skills, and current industry trends.
- Report Your Findings: Create a written report or presentation that outlines what you learned about opportunities in graphic arts. Reflect on which careers interest you the most and why. Consider the influence that emerging technologies (like augmented reality, motion graphics, or user interface design) are having in the field.
This research not only fulfills the merit badge requirements—it might also spark ideas that could influence your future educational or career plans.
8. Practical Tips, Resources, and Final Thoughts
Practical Tips
- Sketch Early and Revise Often: Start with rough sketches of your design ideas. Experiment with multiple layouts and compositions before settling on a final concept.
- Stay Organized: Keep a detailed journal of your projects, including diagrams, production steps, and feedback from your counselor. This documentation helps in both meeting badge requirements and building a portfolio.
- Seek Feedback: Show your design drafts to teachers, peers, or local artists. Constructive criticism can help you improve your layout and design choices.
- Experiment with Digital Tools: Familiarize yourself with popular design software such as Adobe Photoshop, Illustrator, or free alternatives like GIMP and Inkscape. These platforms can help you practice digital artwork and set you up for modern graphic design projects.
Additional Resources
- Online Tutorials and Videos: Websites like YouTube and educational platforms offer tutorials on everything from screen printing to digital typography.
- Scoutles.com and ScouterMom.com: Both websites offer detailed guides and resources specific to merit badges, including Graphic Arts.
- Local Libraries and Workshops: Check if local community centers or print shops offer classes in graphic design or printmaking. Hands-on experiences outside the classroom can deepen your learning.
Final Thoughts
The Graphic Arts Merit Badge is much more than a simple art project—it’s an immersion into a field that combines creativity and technology. Through this badge, you gain not only practical design and printing skills but also develop an appreciation for how visual communication shapes our culture, advertising, education, and entertainment. The blend of traditional techniques like relief printing and modern methods like digital publishing reflects the evolving nature of the art form.
As you work through these projects, keep in mind that graphic arts is about making a statement. Your design might inform, inspire, or even persuade its viewers. Each design element—from the choice of color and typeface to the method of printing—can significantly impact the message you wish to convey. Embrace every opportunity to refine your aesthetic sense, learn about the technology behind the art, and discover how ideas can be transformed into tangible visual expressions.
Whether you decide to pursue further studies in graphic design or simply use your skills for personal projects and community events, the experiences and insights gained through this merit badge will serve you well throughout your life.
Conclusion
Earning the Graphic Arts Merit Badge sets you on an exciting journey that blends artistic vision with practical technical skills. By reviewing different printing processes, understanding varying artistic techniques, and designing a printed piece from idea to execution, you actively engage with the principles of graphic design. Your exploration of digital and traditional methodologies opens up a world of creative possibilities, while discussions on typography, layout, and production prepare you for the professional standards expected in the industry.
Moreover, researching careers in graphic arts can broaden your horizon and might inspire a future career path in a field that is constantly evolving. Whether your interest lies in print media, digital design, advertising, or multimedia production, the competencies you build now will become valuable assets in whatever journey you choose.
In embracing every step—from understanding processes, gathering samples, and learning new production techniques to reflecting on the aesthetics behind your design—you not only meet the requirements of the badge but you develop a sophisticated vocabulary and a keen eye for detail. The Graphic Arts Merit Badge ultimately empowers you to express your ideas in visually compelling ways and to appreciate the powerful role graphic communications play in our everyday lives.
Happy designing, and may your creative journey in graphic arts open up endless possibilities for expression and innovation!

Hi, Robin here, A former lead Scout and here I share my inspiring stories about USA Scouts, leadership, adventure, how to guides and more.

